Scheduling Overview
Our best-in-class scheduling tool helps the front office staff to:
- Balance patient flow
- Quickly find and create appointments
- Set up flexible work locations (AM/PM locations)
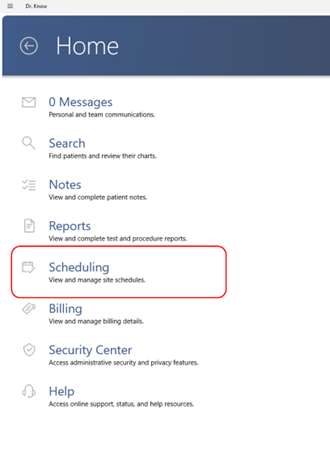
Scheduling is also accessible directly from the patient's chart via search.
Scheduling Screen

The scheduling screen allows you to see any upcoming appointments for the selected date and location. You may click on an appointment to view or edit it.
Adding a new appointment (Smart method)
Click the + sign on the navigation bar to add a new appointment. This can also be done from the patient search or chart.
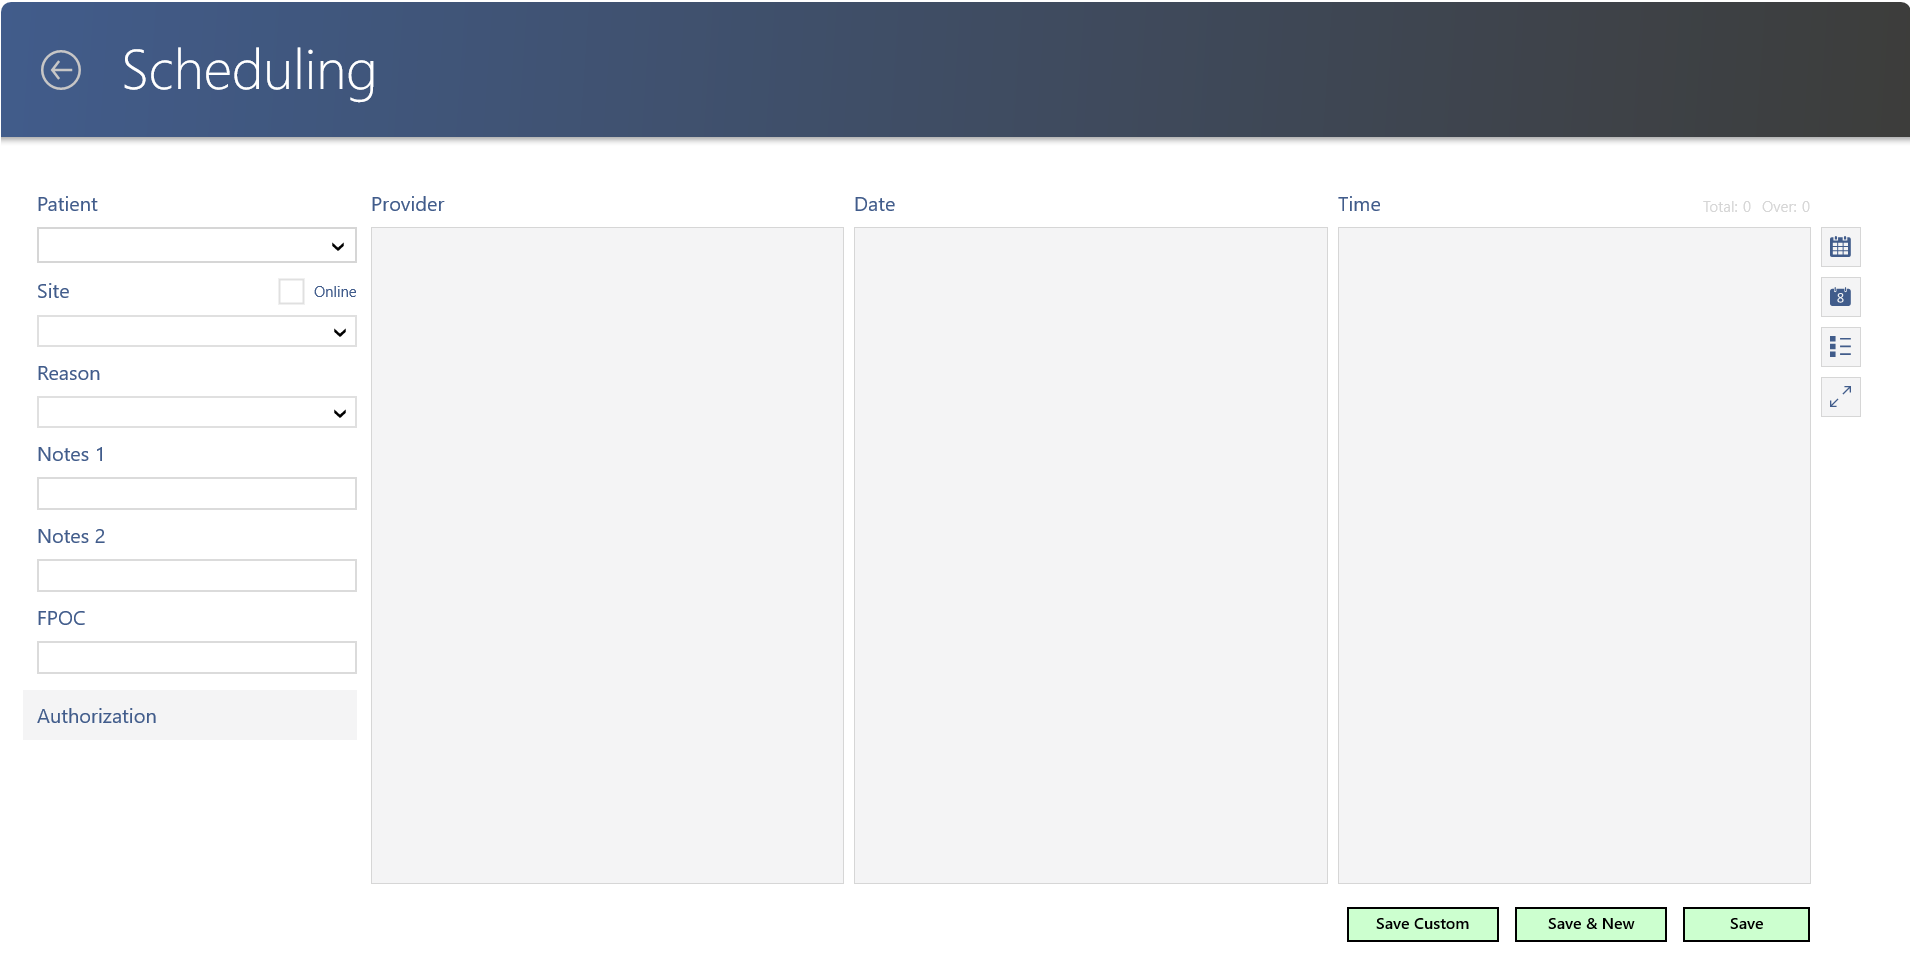
In order to proceed, you must select a patient, site, and reason from the drop-down boxes on the left.
- For patient, just like in other screens, you can enter part or all of the name or an identifier, and search by clicking Enter to display a list of possible options.
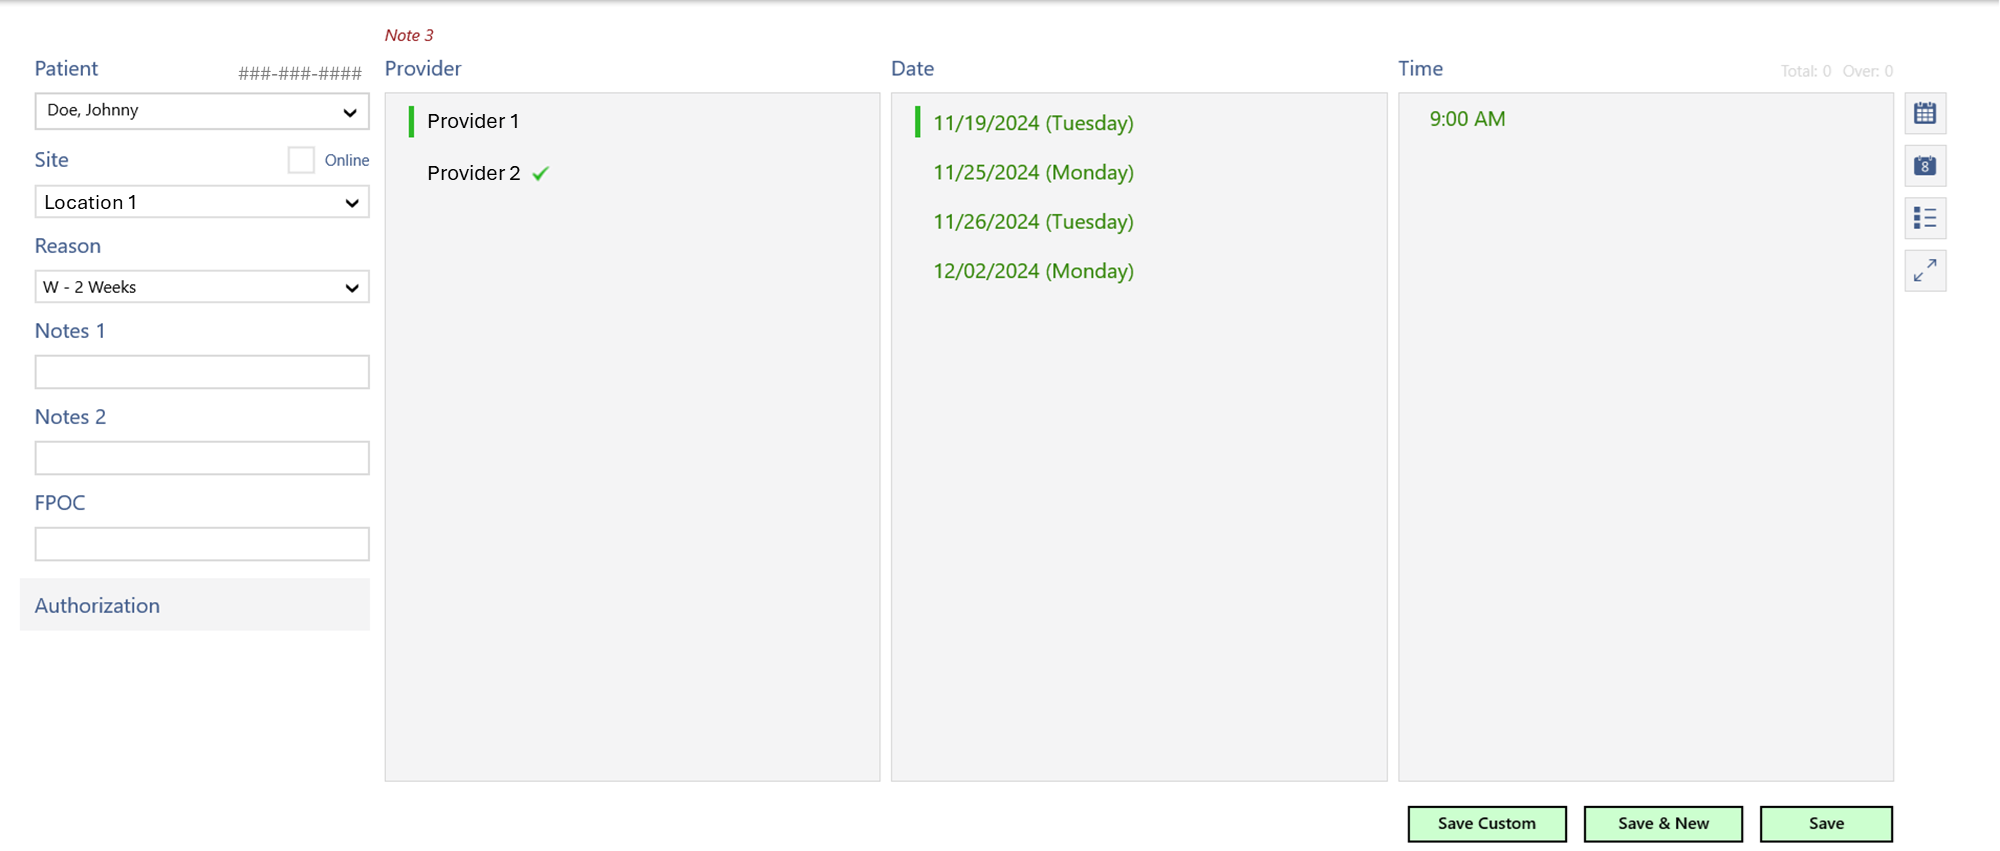
After entering the patient, site, and reason you will be provided with a list of providers available in that timeframe at that location. The patient's preferred provider will have the green check box next to their name.
Once you select the provider, you will have the option of selecting a date, and finally a time.
As you can see, the system found the best fit for everyone. This is the preferred method, as it will attempt to balance patient workload for the doctor and prevent large gaps between patient visits. If the patient has a specific date/time in mind, we can also schedule that way in the following steps.
Manual search

On the right hand side of the scheduling screen are options to look for:
- Specify Date Vicinity
- Specify Exact Date
- Site Schedule
- Expanded Schedule
Clicking the top button (Specify Date Vicinity) brings up this screen, which allows you to enter a date, and the system will pull days on either side of that date to help you find the best fit.
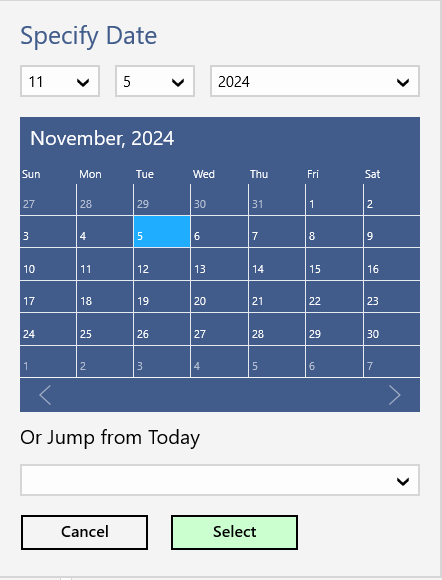
Clicking the second button (Specify Exact Date) brings up the same selection box as Date Vicinity but limits the results to only the selected date.
Clicking the third button (Site Schedule) displays everything scheduled for the selected options.

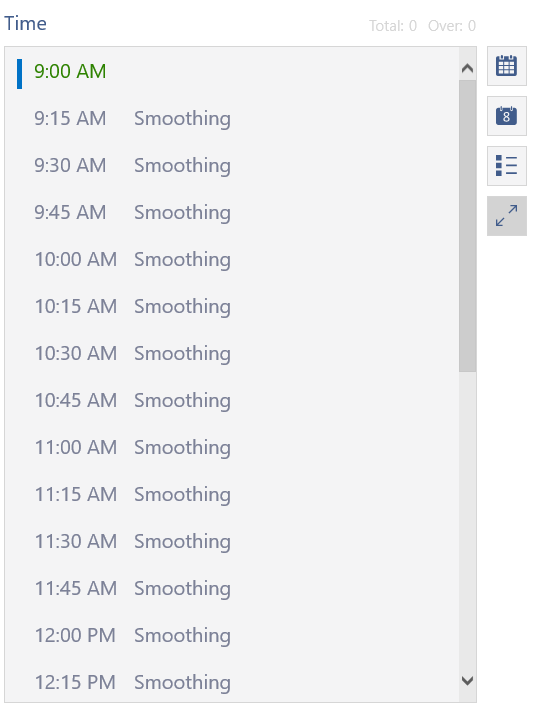
The final button (Expand Schedule) shows hidden options that are available when using the smart method.
